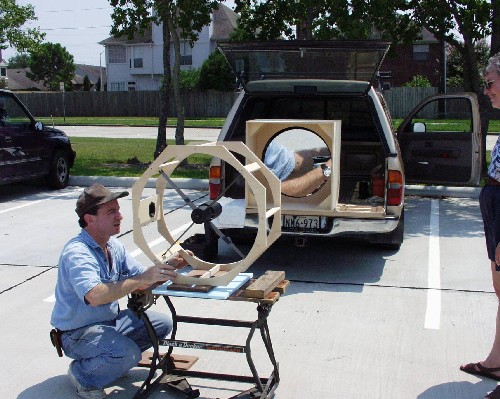
Kurt determining the length of the truss tubes.
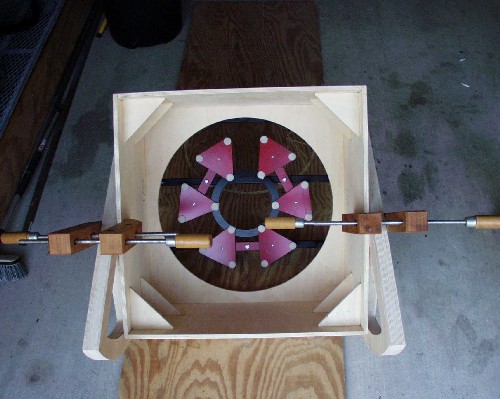
Eighteen point Cell mounted in the mirror box
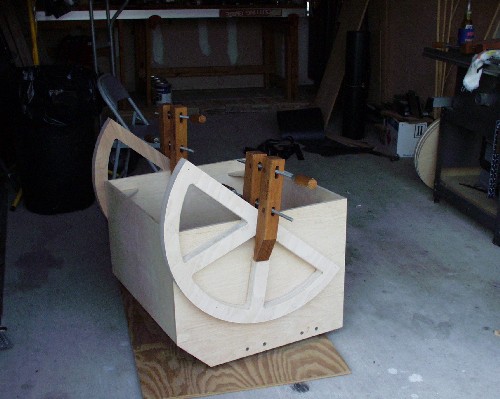
Adding the trunions
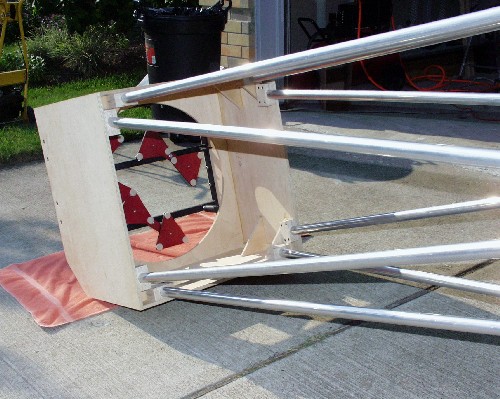
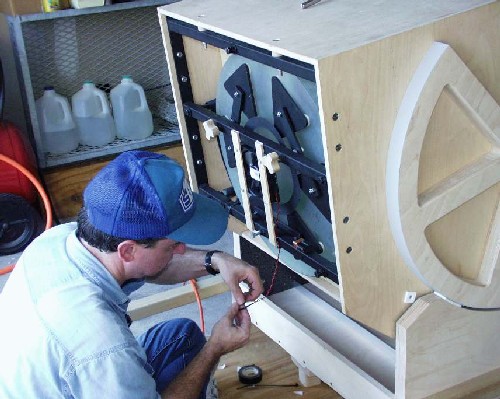
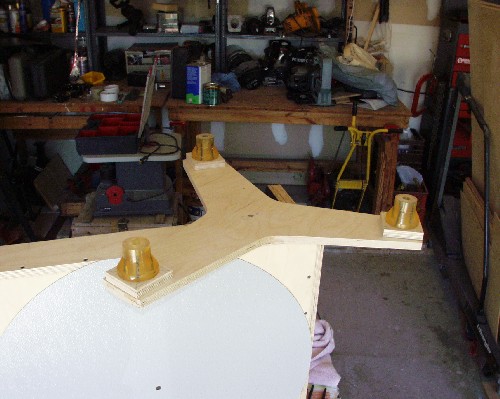
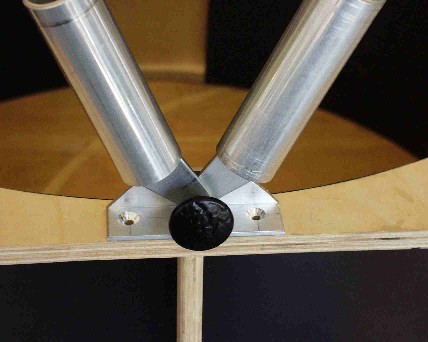 Clampless truss tube blocks. Truss tubes are held in place by tension.
The first picture shows the clampless blocks in the mirror box.
Clampless truss tube blocks. Truss tubes are held in place by tension.
The first picture shows the clampless blocks in the mirror box.
As it turns out, scope assembly and disassembly were a real chore with the clampless blocks. I had originally ordered Malco machined aluminum lower blocks, but there was a substantial delay in delivery. Kurt and I made the decision to try the clampless block technique. It looked good, but assembling the upper cage was a real chore. When the Malco blocks became available, I went ahead and took delivery. Using the Malco blocks will result in an alteration of the truss tube lengths. We took the opportunity to redesign the upper cage brackets as well. The clampless block upper cage bracket design used a separate bolt for each tube. The new design, uses one bolt for every two tubes. This will give far greater rigidity to the scope. The second picture shows an upside down view of the truss tube brackets on the upper cage. Final metal work had not yet been completed.
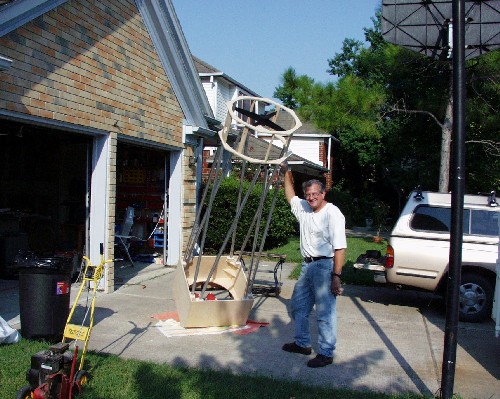
Ken shows off the upper cage mounted on mirror box. Figure we need an 8' ladder.
After balancing, we did a star test on Polaris, it focuses. Next step, making the rocker box.
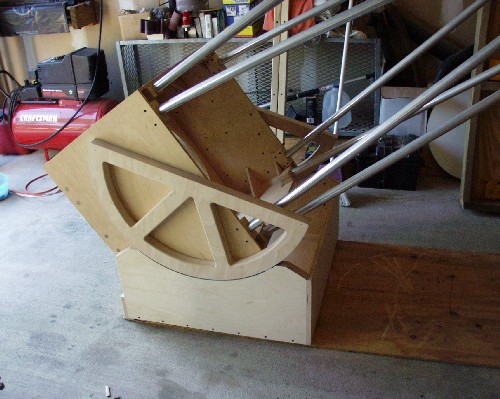
Rocker Box....
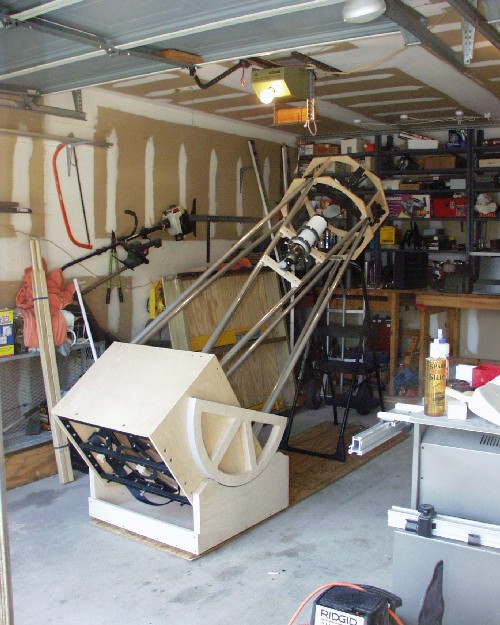
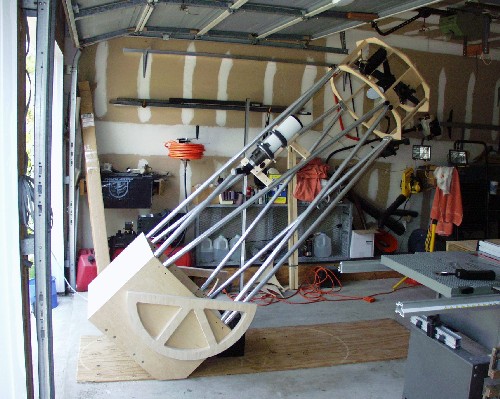
Getting closer - Starting to look like a real scope!
Kurt installing the cooling fan. Mounted on two strips of wood with a cushion made of an old mouse pad serving to absorb the vibrations from the fan.
Here is a fully functional telescope... All we need now is some finishing work and its done!
Star Testing.....
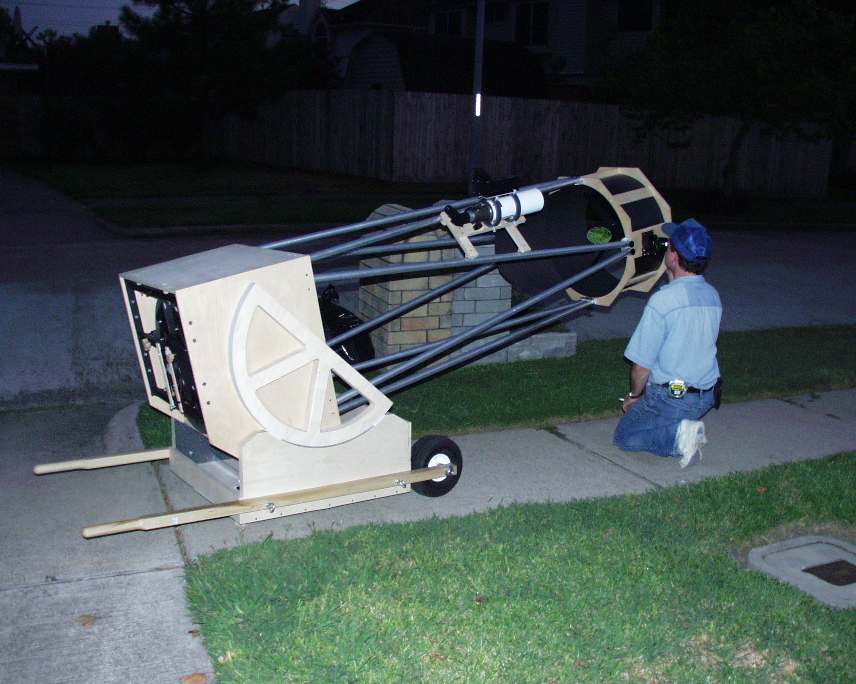
Low in the sky, the first object we found was Venus. Venus provided us the opportunity to align the Telrad and finder scope.
 \
\Testing the optics, Lisa looking for M13. Notice that we've now mounted the Telrad on the 80mm finder scope.
Final
Construction
and Finishing
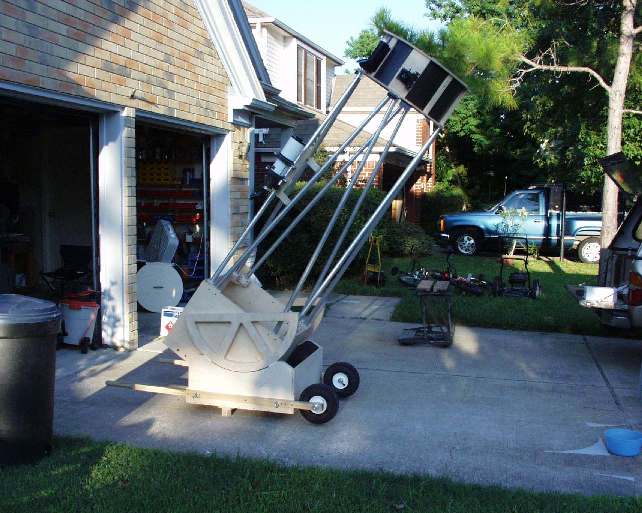
 Kurt had the idea of using the tapered rollers for a
boat trailer for ground board feet. I cut them in half and fastened them
to the ground board with dry wall screws. It is hoped that these will
dampen vibrations quicker than the wooden feet we used initially. They
ended up a little tall...I may need to cut them down some.
Kurt had the idea of using the tapered rollers for a
boat trailer for ground board feet. I cut them in half and fastened them
to the ground board with dry wall screws. It is hoped that these will
dampen vibrations quicker than the wooden feet we used initially. They
ended up a little tall...I may need to cut them down some.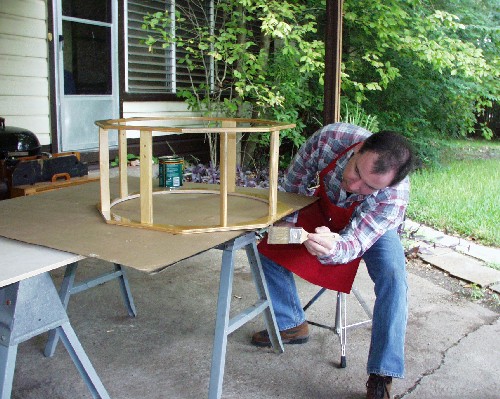
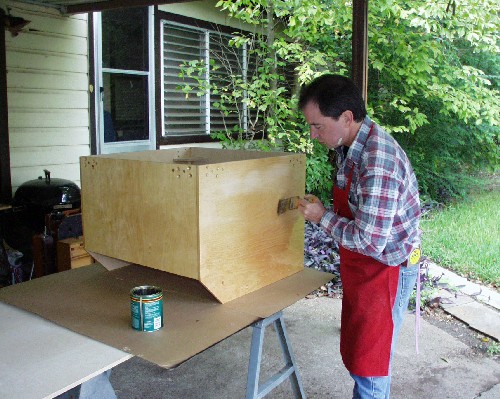
Only 2 weeks till the JSCAS Ft. McKavett star party. Our big debut of the new scope. Kurt has been showing me the fine art of poly-urethaning. I found a Minwax brand that is suppose to be resistant to UV rays and good for out door use. It's called Spar Urethane. After trying it out, Kurt says it applies very well with few bubbles or brush marks. Here a a couple of pictures of the brush master at work...
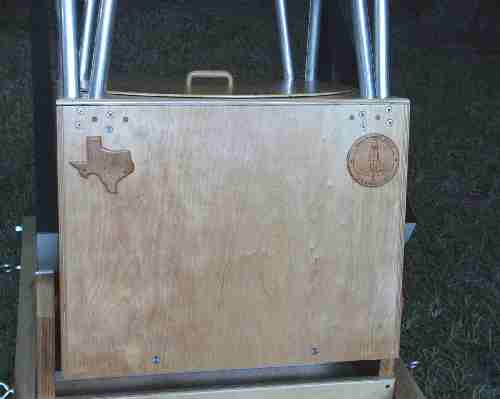
Typical of Kurt's creations, the State of Texas and a JSCAS plaque are
proudly displayed on the back of the mirror box. One more plate will
be added....
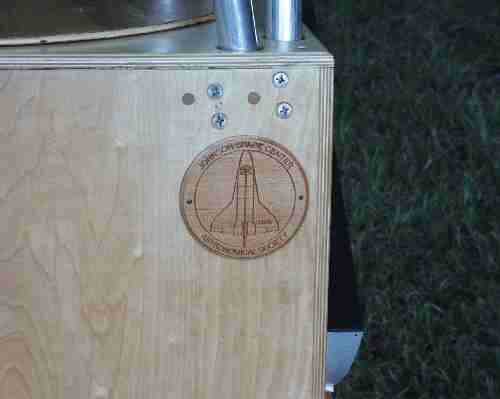
Close up of the JSCAS plaque.
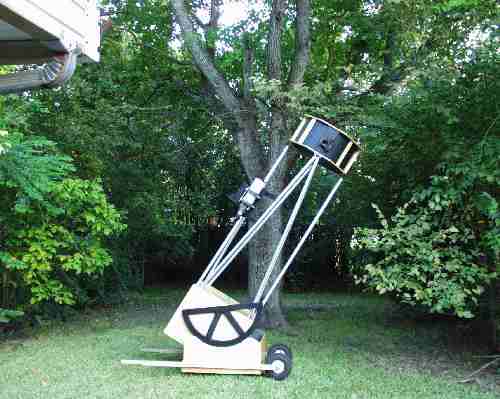
The finished scope...well, as Kurt says...it'll never really be finished!

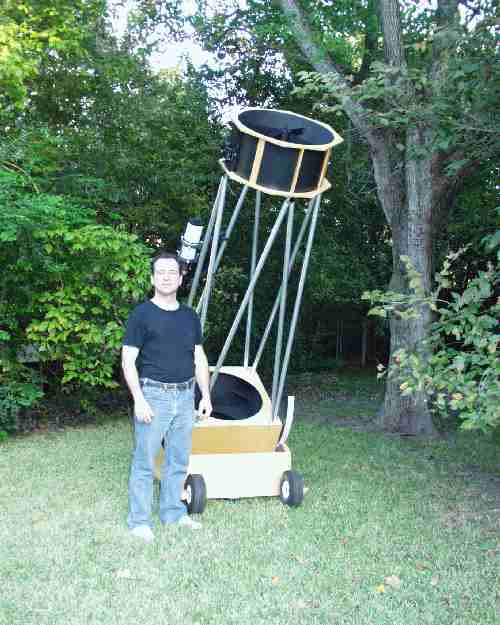
Here I am, Ken Lester, showing off the now completed scope.
Here's Kurt Maurer, chief architect and master wood worker. I'll be forever grateful for his patience and mentoring in the art of work working and telescope building.